Safari Photography Guide: Capturing the Big 5 Like a Pro
Master the art of wildlife photography with expert tips for camera settings, composition techniques, and equipment recommendations for your South African safari adventure.
There’s nothing quite like the thrill of capturing a perfect wildlife photograph on safari—a lion’s intense gaze, an elephant’s majestic silhouette, or a leopard frozen mid-hunt. Safari photography combines technical skill, artistic vision, and the patience to wait for that perfect moment. This comprehensive guide will help you return from your South African safari with stunning images that tell the story of your adventure and rival those of professional wildlife photographers.
Essential Equipment for Safari Photography
1. Camera Bodies
While you don’t need the most expensive gear to capture great safari photos, certain features will significantly improve your success rate:
Ideal Camera Features:
- Fast Autofocus: Essential for tracking moving animals
- High ISO Performance: For low-light early morning and evening drives
- Fast Burst Mode: 5+ fps for action sequences
- Weather Sealing: Protection against dust (critical in Africa)
- Articulating Screen: Helpful for low-angle shots
Recommended Options:
Professional Level:
- Canon EOS R5 / R6 or Nikon Z8 / Z9
- Sony A1 / A7R V
Enthusiast Level:
- Canon EOS 90D or Nikon D7500
- Sony A6600 or Fujifilm X-T4
Budget-Friendly:
- Canon EOS Rebel T8i / 850D
- Nikon D5600
- Even smartphones with good telephoto capabilities!
2. Lenses - Your Most Important Investment
The lens matters more than the camera body for safari photography. Here’s what you need:
Essential Lens: Telephoto Zoom
Your primary lens should be a telephoto zoom in the 70-300mm or 100-400mm range:
- Budget: Canon EF 75-300mm, Nikon 70-300mm (R3,000-R5,000)
- Mid-Range: Tamron/Sigma 100-400mm (R8,000-R15,000)
- Professional: Canon RF 100-500mm, Sony 200-600mm (R25,000-R45,000)
Pro Tip: A 70-300mm lens on a crop sensor camera gives you effective 450mm reach—perfect for safari!
Secondary Lens: Wide-Angle
Don’t forget landscapes and environmental portraits (24-70mm or 16-35mm):
- Capture sweeping savanna vistas
- Photograph animals in their environment
- Low-light performance for star photography
- Document your lodge and safari experience
3. Essential Accessories
- Extra Batteries: Bring at least 3-4 charged batteries (cold mornings drain them quickly)
- Memory Cards: Multiple high-speed cards (64GB or 128GB) - always have backups
- Bean Bag: More useful than a tripod on safari vehicles - rests on window frame
- Lens Cloth & Blower: African dust is everywhere—clean your gear daily
- Rain Cover: Protection for unexpected storms
- Polarizing Filter: Reduces glare and enhances blue skies
- Backup Camera/Phone: Never rely on a single device
Camera Settings for Safari Photography
The Golden Rule of Safari Photography
Shoot in Manual Mode or Aperture Priority (Av/A) for maximum control. While full auto can work, you’ll miss many opportunities and get inconsistent results.
Recommended Settings by Scenario
Early Morning Game Drives (Low Light)
- Aperture: f/5.6 - f/8 (widest your lens allows)
- Shutter Speed: 1/500s minimum (1/1000s for birds)
- ISO: 800-3200 (don’t fear high ISO!)
- Focus Mode: Continuous AF (AI Servo/AF-C)
- Drive Mode: High-speed continuous
The golden hour after sunrise offers magical soft light—worth the early wake-up!
Midday Shooting (Harsh Light)
- Aperture: f/8 - f/11 (for depth of field)
- Shutter Speed: 1/1000s - 1/2000s
- ISO: 200-400 (lowest possible)
- White Balance: Cloudy or Shade (warms up harsh light)
Harsh midday sun isn’t ideal, but you can still capture behavior and action shots.
Evening Game Drives (Golden Hour)
- Aperture: f/4 - f/6.3 (wide open for bokeh)
- Shutter Speed: 1/500s - 1/1000s
- ISO: 400-1600 (increases as light fades)
- Exposure Compensation: +0.3 to +1.0 (for backlit subjects)
The hour before sunset offers the best light—warm tones and dramatic shadows.
Action & Movement (Predator Hunts, Running Animals)
- Shutter Priority Mode: Set to 1/2000s or faster
- ISO: Auto ISO (let camera adjust)
- Focus Mode: Continuous AF with tracking
- Drive Mode: Maximum burst speed
- Technique: Pan with the animal, follow-through after shutter
Photographing Each of the Big 5
Each of the Big 5 presents unique photographic challenges and opportunities. Here’s how to capture each species at their best:
1. African Lion - The Iconic Predator
Best Opportunities:
- Early morning when they’re active and hunting
- Late afternoon when they wake from midday rest
- Golden hour for warm, dramatic portraits
Settings & Techniques:
- Portraits: f/5.6, 1/500s, focus on the eyes
- Action: f/8, 1/2000s+, continuous shooting
- Pride Interactions: Zoom out to f/8-11, capture social dynamics
Pro Tips:
- Focus on the eyes—always sharp and in focus
- Capture yawning (shows impressive teeth)
- Look for cubs playing (irresistible)
- Male lions with full manes are most photogenic in side-light
- Low angle shots emphasize power and majesty
2. African Elephant - Gentle Giants
Best Opportunities:
- At waterholes (drinking, bathing, mud-spraying)
- Family herds with babies (extremely photogenic)
- Bulls with impressive tusks
- Backlit dust-bathing scenes
Settings & Techniques:
- Portraits: f/8-11 (keep entire face in focus)
- Herds: f/11-16, wider angle to show scale
- Action: 1/1000s for trunk movement, dust-spraying
Pro Tips:
- Include environmental context—show massive size relative to trees
- Capture emotion in the eyes (elephants are expressive)
- Babies interacting with family members tell stories
- Side-lighting emphasizes skin texture beautifully
- Be patient for tusk displays and ear-flapping
3. Leopard - The Elusive Cat
Best Opportunities:
- Early morning and dusk (most active)
- In trees (classic leopard pose)
- At kills (rare but dramatic)
- Walking along roads or riverbeds
Settings & Techniques:
- General: f/5.6-8, 1/500-1000s, higher ISO (often in shade)
- Trees: Vertical composition, f/5.6 for background blur
- Action: 1/2000s+, tracking focus
Pro Tips:
- Leopards are often in dappled shade—watch your exposure
- Spot metering on the leopard’s face helps with tricky lighting
- Rosette patterns photograph beautifully in good light
- Be ready instantly—leopards move quickly and disappear
- Eye contact shots are mesmerizing—patience pays off
4. African Buffalo - Dagga Boys
Best Opportunities:
- Large herds at waterholes
- Old males (“dagga boys”) with impressive horns
- Oxpeckers on their backs (symbiotic relationships)
- Muddy/wet subjects (adds drama)
Settings & Techniques:
- Portraits: f/8, 1/500s, focus on horns and eyes
- Herds: f/11-16 for depth, wide angle if close
- Muddy subjects: Slight underexposure to emphasize texture
Pro Tips:
- Old males have the most character—wrinkled skin, broken horns
- Low angles make them look more imposing
- The intense stare of buffalo is captivating—fill the frame
- Herds create geometric patterns—experiment with composition
5. Rhinoceros - Ancient Armor
Best Opportunities:
- Mothers with calves
- At waterholes (drinking or mud-bathing)
- Profile shots showing horn magnificently
- Backlit dust or mist
Settings & Techniques:
- Standard: f/8-11, 1/500s+
- Action: 1/1000s+ if charging (rare but possible)
- Texture: Side-light at f/8 to emphasize skin folds
Pro Tips:
- Profile shots showcase the horn dramatically
- Mud-covered rhinos photograph with great texture
- Include oxpeckers for scale and interest
- Low angles emphasize prehistoric appearance
- Baby rhinos are surprisingly adorable—don’t miss them!
Composition Techniques for Safari Photography
1. Rule of Thirds
Don’t center your subject! Place animals on the intersection points of an imaginary 3x3 grid. Position the animal facing into the frame (not out of it) to create tension and interest.
2. Fill the Frame vs. Environmental Shots
Fill the Frame:
- Emphasizes details (eyes, fur, textures)
- Creates intimate connection with subject
- Great for portraits and emotion
Environmental Shots:
- Shows animal in habitat context
- Tells bigger story of the ecosystem
- Great for sweeping landscapes with wildlife
3. Eye-Level Perspective
Get low! Shooting from eye-level with your subject creates more engaging images than shooting down from the vehicle. Use a bean bag to stabilize your camera at the bottom of the vehicle window/door opening.
4. Leading Lines
Use roads, rivers, or animal trails to draw the viewer’s eye toward your subject. This creates depth and guides attention naturally through the frame.
5. Negative Space
Don’t be afraid of empty space. A lone animal against a vast savanna or sky can be incredibly powerful, emphasizing isolation or contemplation.
Common Safari Photography Mistakes (And How to Avoid Them)
1. Shutter Speed Too Slow
Problem: Blurry images from camera shake or animal movement
Solution: Minimum 1/500s for stationary animals, 1/1000s+ for action. Use 1/(focal length x 2) as a baseline.
2. Shooting in Poor Light
Problem: Underexposed or noisy images in shade
Solution: Increase ISO fearlessly (modern cameras handle 3200+ well), open aperture wide, or wait for better light
3. Not Focusing on the Eyes
Problem: Soft eyes ruin otherwise good images
Solution: Use single-point AF, place focus point on nearest eye, recompose if needed
4. Only Shooting “Trophy” Shots
Problem: Repetitive, catalog-style images
Solution: Capture behavior, interactions, environmental context, details (paws, tails, ears)
5. Chimping Excessively
Problem: Missing moments while reviewing shots on LCD
Solution: Trust your camera, check occasionally for exposure, but keep eyes on the subject
Advanced Techniques for Standout Images
1. Intentional Motion Blur
Try slower shutter speeds (1/30s - 1/125s) while panning with moving animals. This creates artistic motion blur in the background while keeping the subject relatively sharp, conveying speed and energy.
2. Silhouettes at Sunset
Expose for the bright sky rather than the animal to create dramatic silhouettes. Best with distinctive shapes (giraffe, elephant with trunk raised, acacia trees).
3. Behavior Over Beauty
A slightly imperfect shot of amazing behavior (hunting, mating, fighting) beats a technically perfect but boring portrait every time. Always prioritize the moment over perfection.
4. Creative Use of Depth of Field
Wide aperture (f/4-5.6) isolates subject with creamy bokeh. Narrow aperture (f/11-16) tells environmental stories with sharp foreground and background elements.
Post-Processing Tips for Safari Images
Even the best safari photos benefit from thoughtful editing. Here’s a simple workflow:
Basic Adjustments (in order):
- Crop & Straighten: Improve composition, remove distractions
- Exposure: Adjust overall brightness (+/- 0.5-1 stop max)
- Highlights/Shadows: Recover blown skies or lift dark areas
- Whites/Blacks: Set proper white and black points
- Vibrance: Subtle color boost (avoid over-saturation)
- Clarity: Add micro-contrast (don’t overdo on animals)
- Sharpening: Bring out detail, mask to avoid noise in backgrounds
- Noise Reduction: Clean up high-ISO shots
Advanced Techniques:
- Dodging & Burning: Lighten eyes, darken distracting areas
- Selective Color: Boost animal colors while keeping background muted
- Vignetting: Subtle darkening of edges draws eye to subject
- Remove Distractions: Clone out twigs across the face, sensor spots
Remember: Edit to enhance, not to fake. Keep your wildlife photography authentic!
Safari Photography Etiquette & Ethics
The Cardinal Rules
- ✓Never Ask Your Guide to Go Off-Road: Illegal in national parks and damages ecosystems
- ✓Respect Minimum Distances: Never pressure animals for that “closer shot”
- ✓No Calling/Whistling to Animals: Let them behave naturally
- ✓Turn Off Flash: Can startle animals and disturb night vision
- ✓Stay Seated & Quiet: Standing or loud noises disturb wildlife
- ✓Share Sightings: Don’t hog the best viewing position
- ✓Accept What You Get: Some days are slow—that’s nature
Bonus: Beyond the Big 5
Don’t forget these photogenic subjects that often get overlooked:
- Birds: Lilac-breasted rollers, fish eagles, hornbills are stunning
- Smaller Mammals: Cheetahs, wild dogs, hyenas, jackals
- Antelope Species: Kudu, impala, waterbuck make beautiful subjects
- Giraffe: Incredibly photogenic with patterns and graceful movement
- Hippos: Yawning hippos show impressive teeth
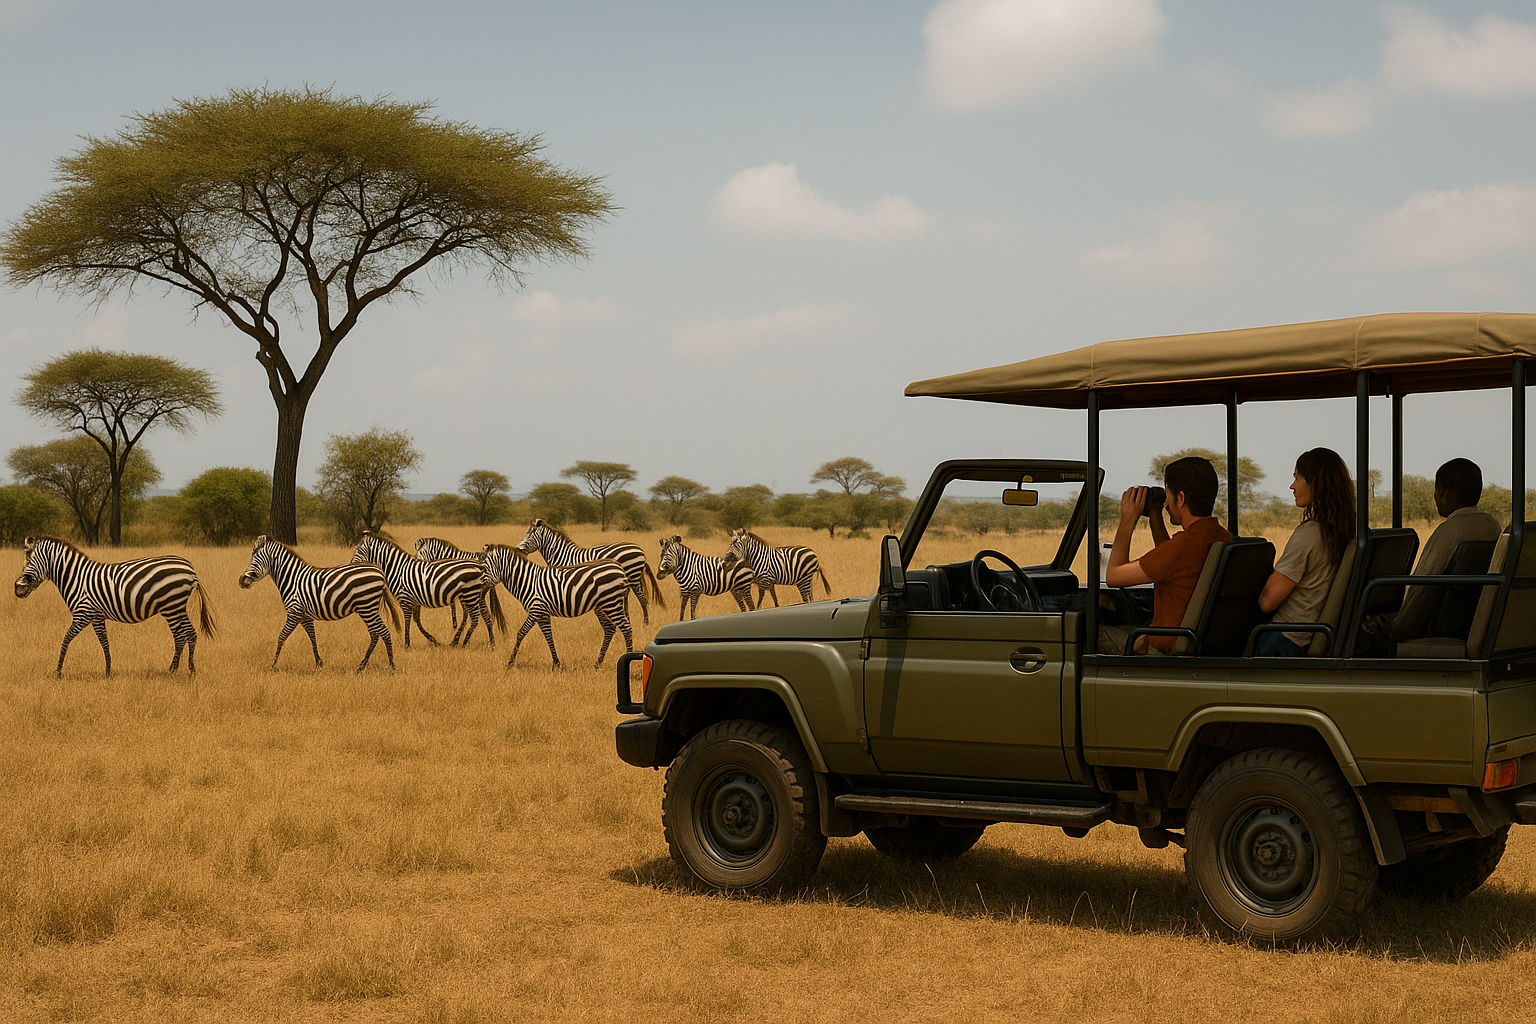
- Zebra: Patterns create abstract compositions
- Landscapes: Sunrises, sunsets, storms, starry skies
- Camp Life: Document your safari experience, not just animals
Final Thoughts: The Magic Moment
The greatest safari photographs come from a combination of technical skill, artistic vision, and luck. You can control the first two through preparation and practice. The third requires patience and being present in every moment.
Some of my best safari images happened when I put the camera down and just watched. Ironically, truly seeing the wildlife—noticing behavior patterns, understanding the environment—makes you a better photographer when you do pick up the camera again. Balance documentation with experience. You’re on safari, not at a zoo. Don’t miss the magic by viewing everything through a viewfinder.
Remember:
The best camera is the one you have with you. Whether you’re shooting with a professional DSLR or a smartphone, focus on capturing moments, telling stories, and preserving memories. Technical perfection matters less than emotional impact.
Ready to Practice Your Safari Photography Skills?
Join us on a South African safari where you’ll have countless opportunities to photograph the Big 5 and capture your own stunning wildlife images.